lørdag 27. april 2013
First cup of coffee made with moccapi
torsdag 29. november 2012
Moccapi in a cisco pix box
I had an old defect Cisco PIX box laying around, and it turned out to be a perfect house for my moccapi. The ethernet and USB ports fits perfectly into the old wan/lan ports and with a little soldering I may even get the serial console port going, by connecting the rx/tx pins from the PI GPIO. I openef the USB power supply and integrated it into the box, now only one 240V power cable supplys both the pi and the 240V output that will Control the coffee machine. I did some changes to the concept. The original idea was to use Python and pymcu to control a relay, now I have just a solidstate relay connected to the GPIO on the PI. Simplified. I have installed clish on the pi, a cisco cli like command line tool. Now I can make coffee using Cisco like commands.
I've also added a netgear mini USB wifi dongle, as I have no ethernet connectors in the kitchen. The wifi dongle was plug and play, easy to get up running.
The project is almost complete in version 1, now I just need a coffee machine that consumes less than 1000W, due to relay limit.
Next, I will add a webcam to monitor the coffee progress :-)
onsdag 8. august 2012
Finally, the PI has arrived.
After 6 months of waiting, I received the Raspberrypi today. Farnell used just 2 weeks to deliver it. Let the game begin!
onsdag 25. juli 2012
MoccaPI rated top 10 raspberrypi projects on techrepublic
http://m.techrepublic.com/blog/european-technology/10-coolest-uses-for-the-raspberry-pi/505
Just discovered that my Project is on top 10 coolest raspberrypi projects on Techrepublic. Thanks for the referral!
Great motivation for completing the project.
Guess there are other geeks out there that finds this idea to be fun.
Just discovered that my Project is on top 10 coolest raspberrypi projects on Techrepublic. Thanks for the referral!
Great motivation for completing the project.
Guess there are other geeks out there that finds this idea to be fun.
Still no PI
Just a quick update. This prosject is not dead, I'm just waiting for my PI to arrive. I ordered from RS online in february, still no sign of the PI. I have a friend which just got his PI from Farnell, even though he ordered 2 months after me. So I've just ordered from Farnell, they promised to send me one within 5 weeks! So stay tuned for updates.
I've also ordered a TTL controlled Relay from Robonor (Norwegian Sparkfun Supplier) for controlling the power on the machine.

I've also ordered a TTL controlled Relay from Robonor (Norwegian Sparkfun Supplier) for controlling the power on the machine.
søndag 25. mars 2012
Current source code
Click here to download latest build (currently in development so don't expect too much)
You need to install the pymcu and python modules as described here: http://pymcu.com/Installation.html
You also need to download miniboa and put in the same folder as the coffeeserver.py.
D1 on the PYMCU is the LED indicator used showing coffee in progress. Please add 330ohm resistor in series with the LED.
D2 is a beeper element that indicates start and stop of the process.
The relay controlling the power for the coffee machine is not yet implemented, this part needs additional powersource to drive the relay.
There is a timeout of 30 secs for the process.
Next part. Get sensors for waterlevel.
The PYMCU module has arrived!

I soldered the pin contacts to the circuit board to allow me to quickly connect the PYMCU to an experiment board.
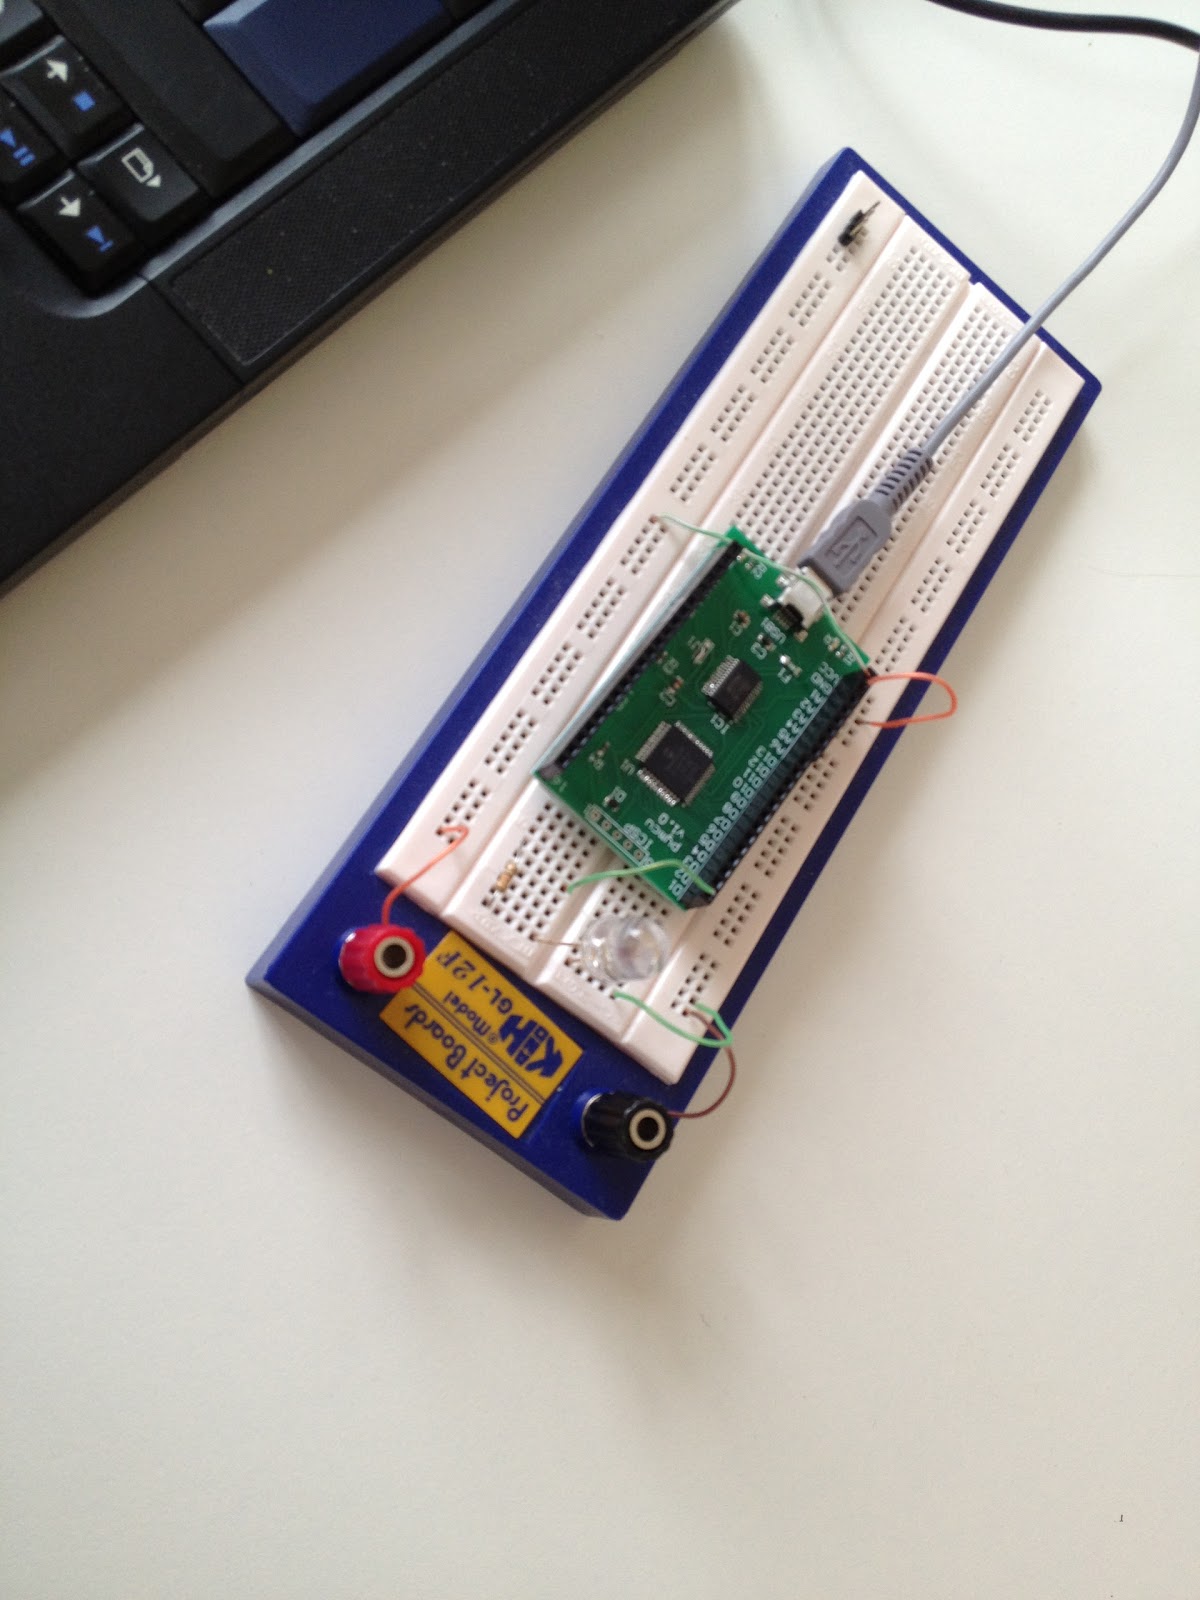
The I started with the LED sample here. A little cut and paste, and the telnet server now can control the LED:
Now, I need to find a way to control the relay from PYMCU.
Abonner på:
Innlegg (Atom)